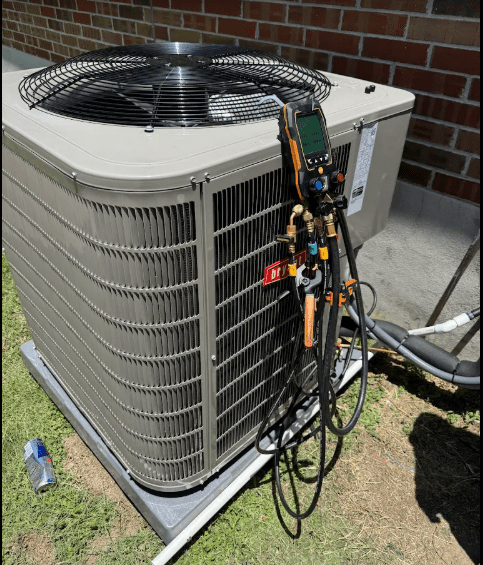
How To Install Wall AC in Austin, Texas
In the sweltering heat of Austin, Texas, staying cool is more than a luxury—it’s a necessity. One of the most efficient ways to beat the Texas heat without compromising on aesthetics or floor space is by installing a wall-mounted air conditioning (AC) unit. Whether you’re a homeowner in South Austin or running a small business downtown, learning how to install a wall AC properly ensures optimal cooling and energy efficiency.
Wall-mounted units are a perfect choice for those who want efficient AC installation service in Austin TX while maintaining the interior design and avoiding bulky window setups.
Why Choose a Wall AC Unit?
Wall AC units are excellent for cooling individual rooms or small spaces. They are:
- Space-saving (no need for window access),
- Energy-efficient for room-by-room cooling,
- Permanent fixtures, unlike portable or window ACs,
- Ideal for additions or converted garages in homes across Austin.
What You’ll Need
Before you begin the installation, gather the following tools and materials:
- Wall AC unit (make sure it’s properly sized for the room)
- Support brackets (if not included with the unit)
- Stud finder
- Drill
- Screws and anchors
- Level
- Electrical outlet or dedicated circuit
- Caulk or insulation foam
Step-by-Step Wall AC Installation
1. Choose the Right Location
- Pick a spot on an exterior wall for venting.
- Ensure there’s no plumbing or electrical wiring behind the wall.
- The unit should be at least 6 feet above the ground and centered in the room for balanced airflow.
2. Mark the Cutout
- Use the mounting template that comes with your unit to trace the outline.
- Use a stud finder to locate and avoid wall studs.
- Make sure the unit is level to prevent drainage issues.
3. Cut the Opening
- Cut through drywall and insulation using a drywall saw.
- Cut through the exterior wall (may require a circular saw or reciprocating saw).
⚠️ Pro Tip: In older Austin homes, be careful of unexpected materials like masonry or metal lathe.
4. Frame the Opening
- Create a frame using 2×4 lumber to support the AC unit inside the wall.
- Ensure the frame is level and secure.
5. Install the Sleeve or Support Brackets
- Many wall AC units come with a sleeve that goes into the wall to hold the unit.
- Insert and secure the sleeve using screws and anchors.
- Attach any support brackets on the exterior side.
6. Slide In the AC Unit
- Carefully lift and insert the AC unit into the sleeve.
- Follow the manufacturer’s instructions for securing the unit.
7. Seal Around the Unit
- Use weatherproof caulk or expanding foam to seal around the unit both inside and outside.
- This prevents air leaks and increases energy efficiency.
8. Connect Electrical Power
- Plug the unit into a dedicated 120V or 240V outlet depending on your model.
- If hardwiring is required, contact a licensed electrician in Austin for code-compliant installation.
9. Test the AC Unit
- Turn on the unit and test its cooling function.
- Check for vibrations, noises, or leaks.
- Set your desired temperature and enjoy the chill!
Ongoing AC Maintenance Near Austin, TX
Installing your wall unit is just the beginning. To ensure long-term performance and air quality, schedule AC maintenance near Austin TX at least once a year. This includes:
- Cleaning or replacing filters
- Checking refrigerant levels
- Inspecting coils and condenser units
- Ensuring proper drainage
With proper maintenance, your unit will run more efficiently and last longer—especially through the peak summer months in Central Texas.
Hiring a Professional vs. DIY
While DIY installation can save you money, hiring a licensed HVAC technician in Austin ensures:
- Compliance with local building codes
- Correct electrical connections
- Warranty protection
- Safe refrigerant handling
This is particularly important in multi-family housing, historic homes, or if your setup includes both cooling and heating repair service in Pflugerville TX or surrounding suburbs.
Tips for Austin Homeowners
- Energy Efficiency Tip: Choose an ENERGY STAR® rated unit to lower energy bills and qualify for Austin Energy rebates.
- Permits: You may need a permit if altering structural elements or electrical wiring—check with the City of Austin Development Services Department.
- Seasonal Timing: Spring and fall are ideal seasons to install wall AC units—before the summer rush.
Final Thoughts
Installing a wall AC in your Austin home or office can significantly improve indoor comfort without taking up floor or window space. Whether you’re braving the heat in East Austin or upgrading a rental in Pflugerville, this installation can be a smart move—especially when done safely and efficiently.
From AC installation service in Austin TX to heating repair service Pflugerville TX, making the right choice for your HVAC needs begins with a quality install and ends with consistent maintenance.
Need Help with AC Installation or Maintenance?
Contact ON AIR HVAC – Pflugerville | Round Rock | Austin | Georgetown at +1 512-598-1315. Your local HVAC experts ensure professional, code-compliant installation and long-term performance—because when it comes to Texas heat, you can’t afford mistakes.

